Creative Ideas
4th of July SVGs for Cricut and Silhouette: Tips and Tricks

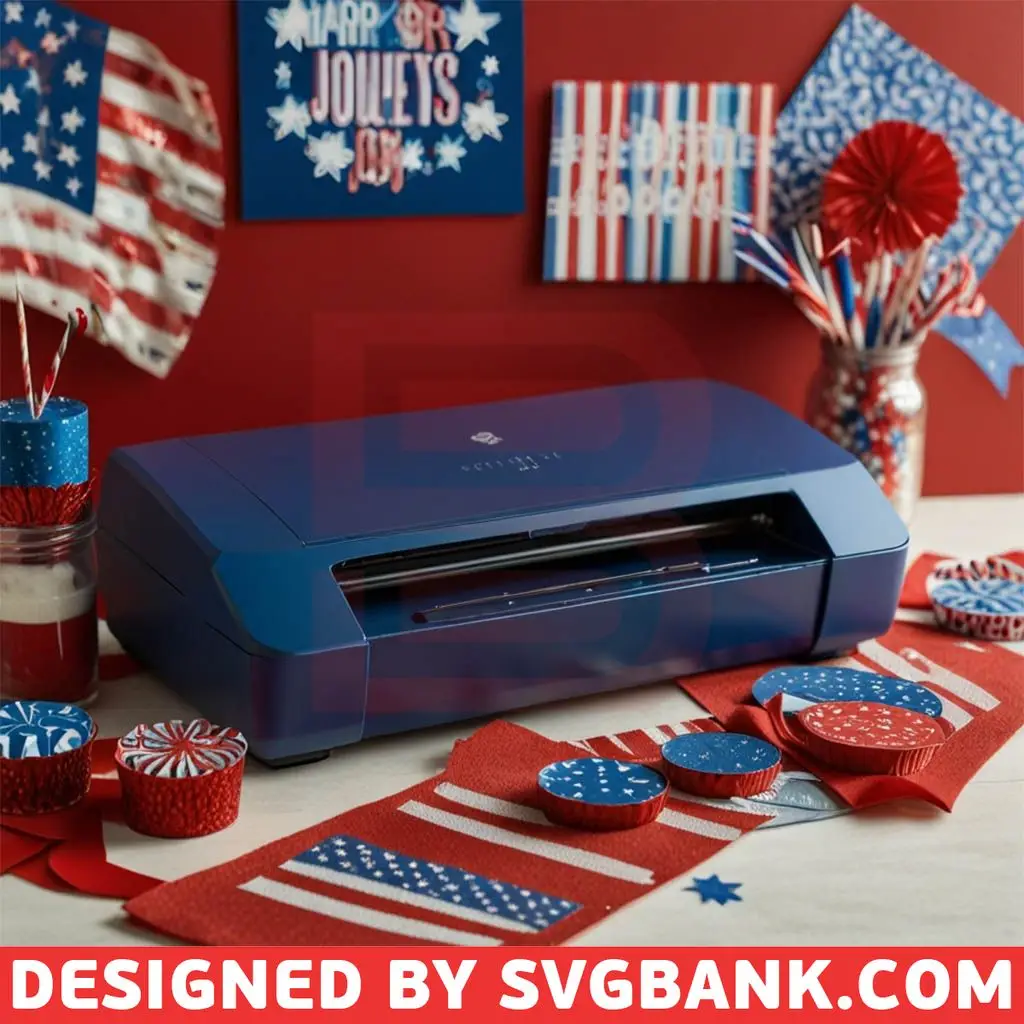
The 4th of July is a time for celebration, fireworks, and showcasing your patriotic spirit. And what better way to do that than with personalized, handcrafted decorations and crafts? If you’re a proud owner of a Cricut or Silhouette machine, you have the perfect tools to bring your 4th of July visions to life with the help of SVGs.
Whether you’re a seasoned pro or just starting your crafting journey, this guide is packed with practical tips and tricks to help you navigate the exciting world of 4th of July SVGs and cutting machines. Let’s dive in!
Table of Contents
Before You Cut: Preparing Your SVGs

- File Format Matters: Ensure your SVG file is in the correct format for your machine. Cricut Design Space prefers .svg files, while Silhouette Studio can handle both .svg and .dxf files.
- Software Savviness: Once you’ve uploaded your SVG into the software, take a moment to familiarize yourself with the design. Resize it to fit your project, adjust colors if needed, and ungroup elements if you want to cut them separately.
- Color & Material Harmony: Choose colors and materials that complement your design and project. Vibrant vinyl on a plain t-shirt? Sparkly glitter paper for a festive banner? The possibilities are endless!
Cutting with Confidence: Machine Settings & More

- Machine Settings Mastery: Each material requires specific cutting settings. Consult your machine’s guide or online resources for recommended blade depth and pressure for materials like vinyl, cardstock, or heat transfer paper.
- Test Cuts are Key: Before committing to your final material, always perform a test cut on a scrap piece. This ensures your settings are perfect and prevents any costly mistakes.
- Weeding Woes, No More: Weeding intricate designs can be tricky. Use a weeding tool, tweezers, or even a pin to carefully remove unwanted pieces. Patience is your best friend here!
Bringing Your Designs to Life: Application Techniques

- Vinyl Virtuoso: Transferring vinyl designs is a breeze with the right tools. Use transfer tape to lift your cut design from its backing and apply it smoothly to your surface. Burnish firmly to ensure proper adhesion.
- Heat Transfer Hacks: For fabric projects, heat transfer paper is your go-to. Follow the instructions provided with your paper for optimal results. Remember to mirror your design before cutting!
- Adhesive Adventures: For materials like wood, glass, or paper, use a strong adhesive to secure your SVG cutouts.
Project Inspiration: Let Your Creativity Flow!

- Patriotic Apparel: Design custom t-shirts, tote bags, or hats that scream “Happy 4th!”
- Festive Home Decor: Create unique wall art, throw pillows, or door hangers to add a touch of Americana to your living space.
- Party Perfection: Craft banners, cupcake toppers, and personalized party favors to make your celebration unforgettable.
- Beyond the Basics: For those seeking a challenge, explore advanced techniques like layering, offsetting, and print then cut to create truly impressive designs. Don’t forget to check out our article, 10 Creative Ways to Use 4th of July SVGs in Your Designs, for even more inspiration!
Show Off Your Creations!

Once you’ve mastered these tips and tricks, don’t be shy about sharing your creations with the world! Post your projects on social media, inspire fellow crafters, and spread the 4th of July cheer.
Ready, Set, Craft!
Are you ready to unleash your creativity with 4th of July SVGs? Don’t forget to check out our guide on 4th of July SVG for more information and inspiration!
Armed with these tips and a dash of patriotic spirit, you’re ready to conquer the world of 4th of July SVGs and cutting machines. Remember, the most important thing is to have fun and let your creativity shine. Happy crafting!
Follow us on Facebook, LinkedIn, Medium, Pinterest.
